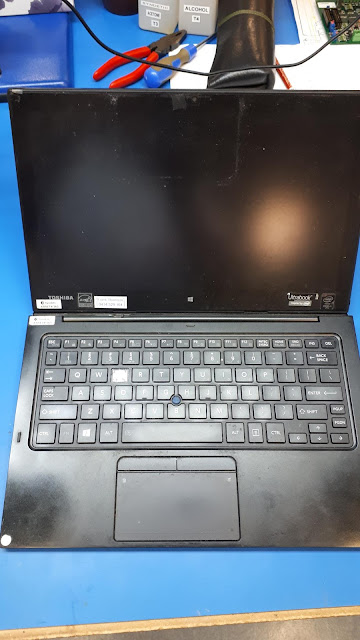
Toshiba Z20t teardown dismantle
The E key on my Toshiba Z20t had fallen off. I bought a new keyboard off E-Bay.
Looked on the internet and I could not find any instructions on the procedure of how to replace it so I figured I would write down what I did.
Z20t showing broken E key.
Remove the screen
Turn over. Remove screws.
I kept mine laid out so I would know which screw goes back where.
Fold the hinge closed.
Prize the back apart.
There are little plastic bits that hold it together. A bit hard to prise them apart.
Note do not remove any PCBs
No need to unplug the wire to the touch pad.
Disconnect the battery
(2 screws and two connectors) Note the wire colours and orientations of the connectors for reassembly.
Disconnect 3 FPC (Flexible printed cables) that connect the keyboard to the Printed Circuit Board. You do this by pushing the tabs on the connector toward the cable.
Then gently slide the cable out
Find a position and start to leaver the keyboard out.
Mine was stuck down very well and was destroyed in the process.
I was hoping not to destroy it but it's not like the laptops of old where removing the keyboard was easy.
Rip it out. End of the keyboard.
I got more and more rough with it as it was clear that there was no way to get it out and keep it functional.
Rip out this piece
NEW KEYBOARD
I prepped the new keyboard with three pieces of double sided tape.
The FPC cables could be slipped up by putting my finger on it and sliding back.
Then slide into the connector on the PCB and push the retaining tabs home to secure the cable. (3 cables)
After the keyboard is stuck in, turn the laptop over and slide the flat cables out.
The FPC seemed a little longer than the originals but they ended up OK after I reinstalled the battery
This picture shows the tools I used and the old destroyed keyboard.


Thank you very much. I have the exact same problem: the "e" has fallen off, and it is not a problem of the key itself but of the tiny metal hooks that hold it in place. I am considering buying a replacement keyboard, so your instructions will help me to install it (hopefully without damaging anything).
ReplyDelete