1

The silver thing on the right is the keyboard (upside down). To remove it, look for the three little plastic tabs at the top of the keyboard. Use a flat blade screw driver to push the case back.


Case pried partially open. Broken DC connector being held in long nose pliers.

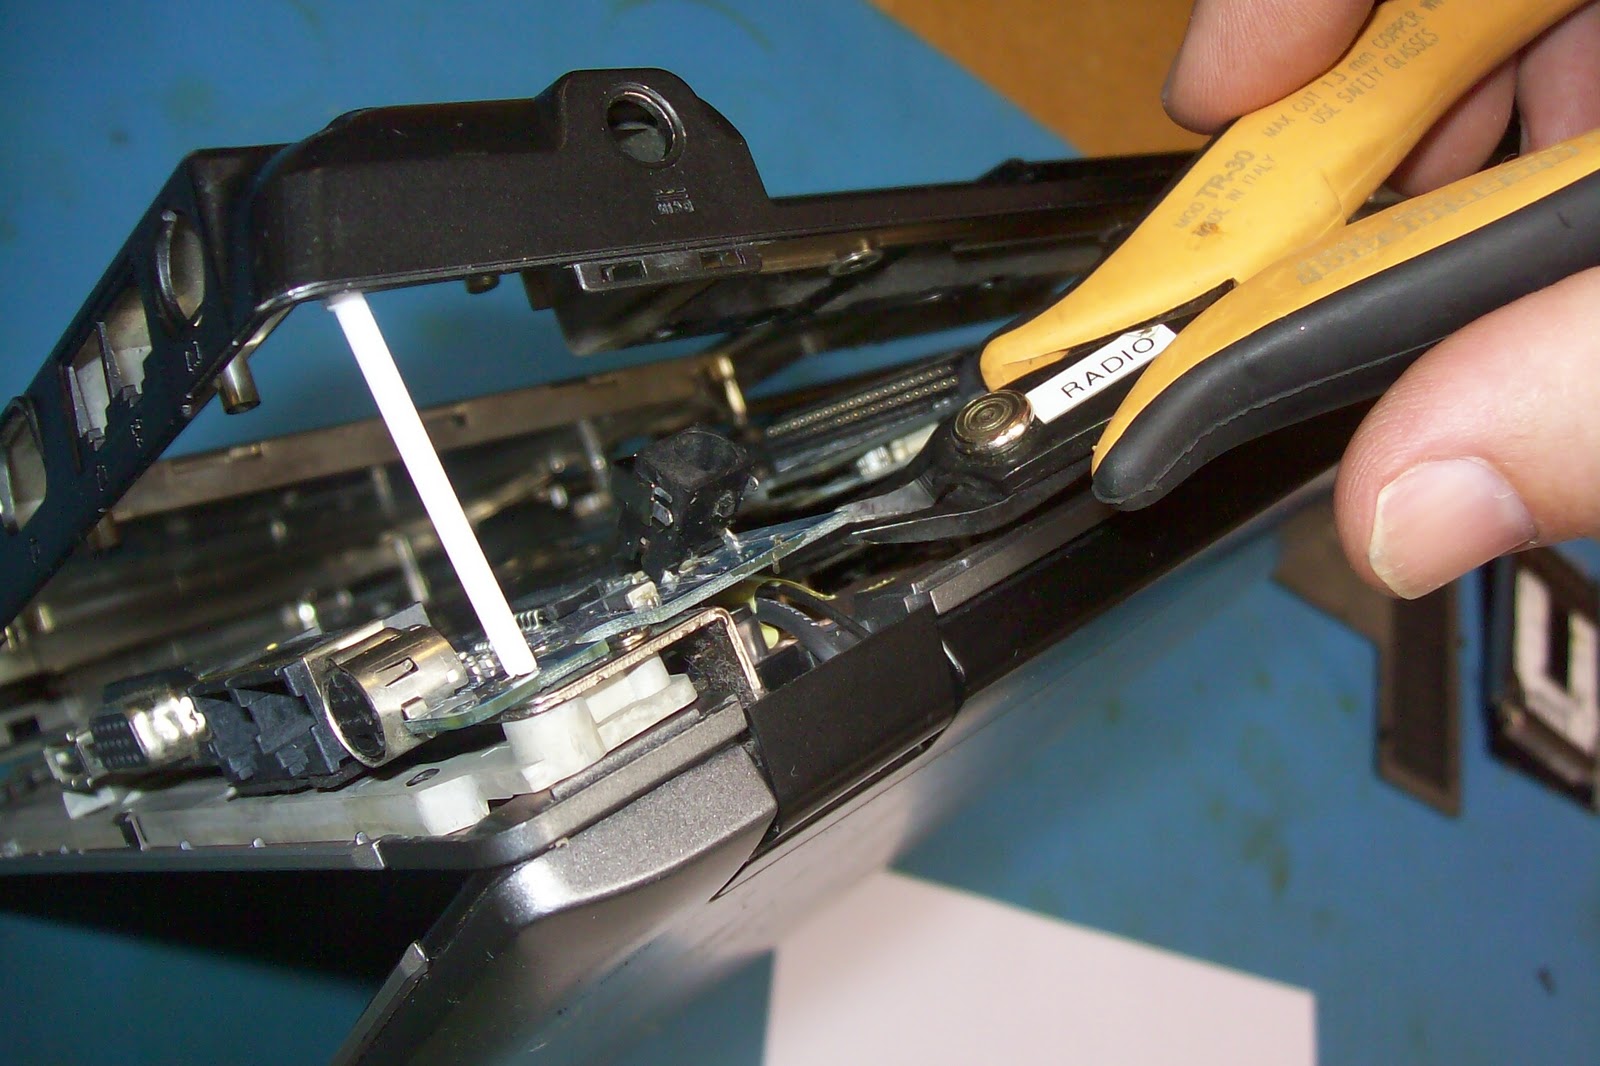
5 In this picture you can see right through the broken connector. (Round Hole)
6
I cut the old connector off the board. I would have needed 4 soldering irons to desolder it.

7
Soldered three wires on. These go to an external DC connector. It had a way different footprint and so trying to shoe horn it in would have been timeconsuming and probably would never have lined up with the hole.

Two cable ties will stop the wires being pulled out of the hole. May even plug with epoxy but nothing ever sticks to the plastic that toys these days are made of so I am not sure how useful the glue would be.

New DC connector soldered to the wires. Black glue lined heat shrink will be shrunk over it.
10
It lives again!

No comments:
Post a Comment